
________________________________________
Draws a polygon, gear, rack, or sprocket

The Shapes command contains two main functions:
Right-click the Shapes button and select Polygon (Default) to begin creating a polygon with any number of equal sides. The distance to a corner, distance to a side, or the length of each side may be specified. The size of the polygon may also be specified using the cursor. The polygon can be oriented in any direction.
The mouse wheel can be used to zoom-in and zoom-out while using this command.
The polygon is drawn as a series of lines. A construction line is automatically added from a vertex to the exact center of the polygon.

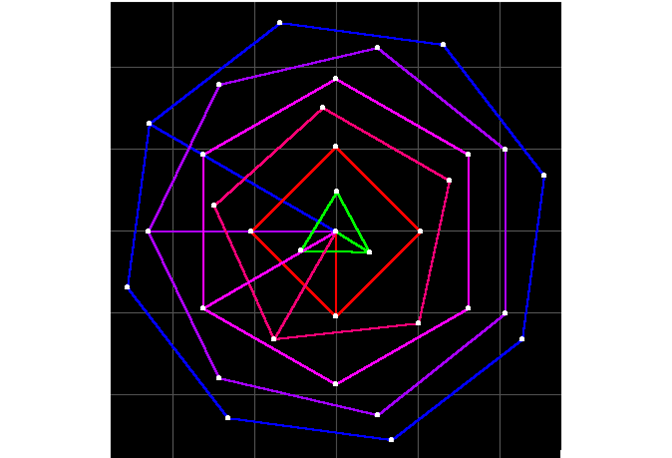
Sample polygons
1. Right-click the Shapes button and select Polygon (Default).
The Snaps toolbar appears. Use these tools to specify where the center of the polygon will be.
You can also click the left mouse button anywhere on the drawing to specify the center of the polygon.

Use the Snaps to specify the center of the polygon
2. The Polygon Attributes dialog appears. A light blue polygon will also follow the cursor. Specify the number of sides and the size of the polygon.

The Polygon attributes dialog
Number of sides
Type in the number of sides for the polygon in the Edit Box. Polygons may have up to 10,000 sides.
Size of the polygon
There are four ways to specify the size of the polygon:
- Using the cursor
Move the cursor around to increase and decrease the size of the polygon. The polygon may also be rotated to the desired position. Hold down the Shift key, and the polygon will snap to the increments set in Options (usually 15º increments).- Specify distance to corner
Click on the "To Corner" tab of the Polygon Attributes dialog. Enter the distance from the center of the polygon to a corner and click on OK.

- Specify distance to side
Click on the "To Side" tab of the Polygon Attributes dialog. Enter the distance from the center of the polygon to the mid-point of a side. Click on OK.[image]

- Specify length of each side
Click on the "Side Length" tab of the Polygon Attributes dialog. Enter the length of each side. Click on OK [image].

3. The polygon is drawn (in Traverse Quality) with a line to the center of the polygon.
The line makes it easy to move or rotate the polygon about its center, by simply choosing the end of the line. Since the polygon is composed of a series of line entities, it has no "center" in LAYOUT .

An eight-sided polygon, with sides of length 1"