This topic describes how to create a pilot hole and how to use XData to create deeper etches.
Use the Etch quality to create a pilot hole for later drilling. The jet stream acts as a center punch.
The following image shows four pilot holes. A tiny etch was used as the center point for the pilot hole.


Hover the mouse over the following image to see inquire details on the etch entity.

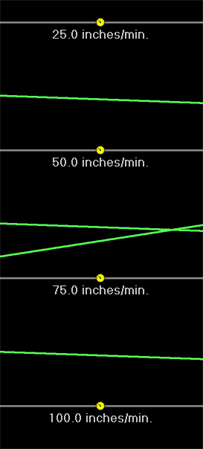
By default, etching runs at the top speed of the ProtoMAXmachine, 100 in. per minute (2540 mm per minute). Advanced users might consider using XData to override the speed of etching in order to control the depth of the etch by slowing it down. Use XData to set an exact speed for more control.
To set XData 014: Force absolute speed:
In the box labeled Enter absolute speed value in inches/min, enter between 1 (slowest speed) and 100 (fastest speed).
Note: The base speed is 50 IPM (1270 mm per minute).
The slower the speed, the deeper the etch. The yellow circles indicate XData numbers.
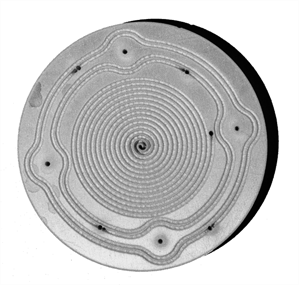
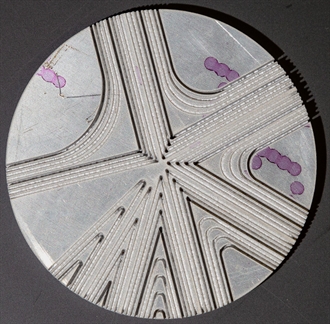
The angle coin is a tool used to see how far the etch digs into the material while traversing angles and radii.


